Making your own wedding invitations
Making your own wedding invitations can be a fun and creative project that adds a personal touch to your special day. Here are some ideas and tips to help you create DIY wedding invitations...
Choose a Design Theme:
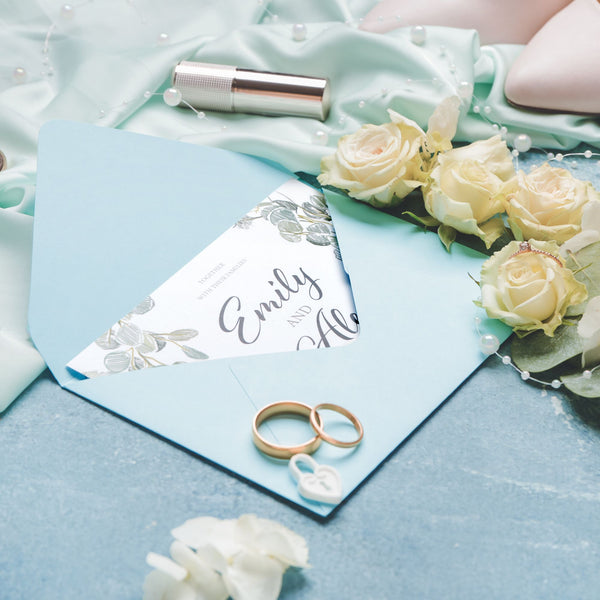
Start by deciding on a design theme that reflects your wedding style. Whether it's rustic, vintage, modern, or floral, having a clear theme will guide your creative process.
Select Quality Materials:
Invest in good-quality paper or cardstock for your invitations. Consider recycled or sustainable options for an eco-friendly touch. You'll also need envelopes, and if you're printing at home, make sure your printer is compatible with the chosen paper.
Experiment with Typography:
Play around with different fonts to find a style that suits your theme. Mix and match fonts for headings and body text, but keep it readable. There are many free font resources online.
Include Essential Information:
Ensure your invitations include all the necessary information: names, date, time, venue, RSVP details, and any other important information your guests need. Triple-check for accuracy.
Incorporate Personal Elements:
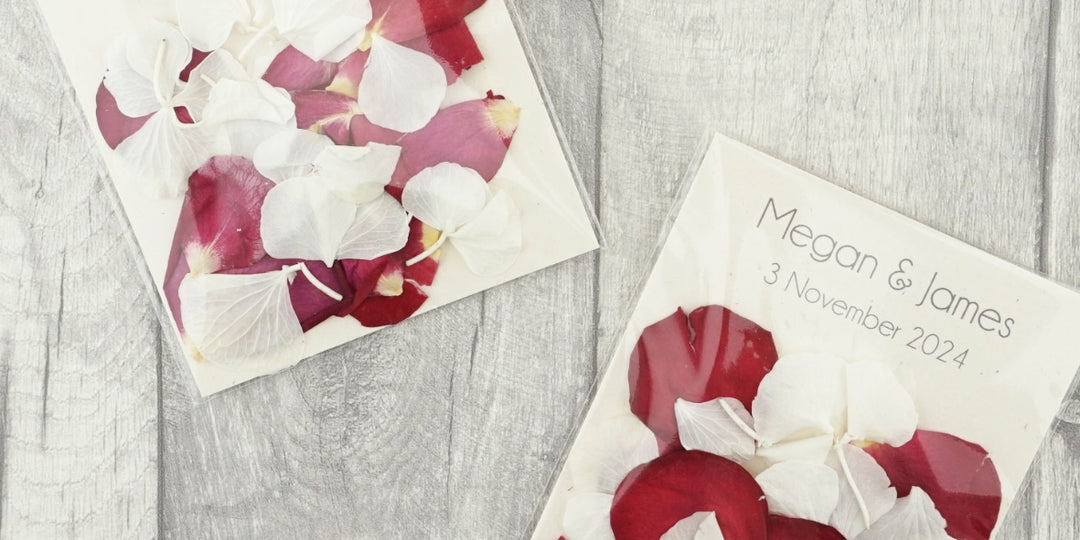
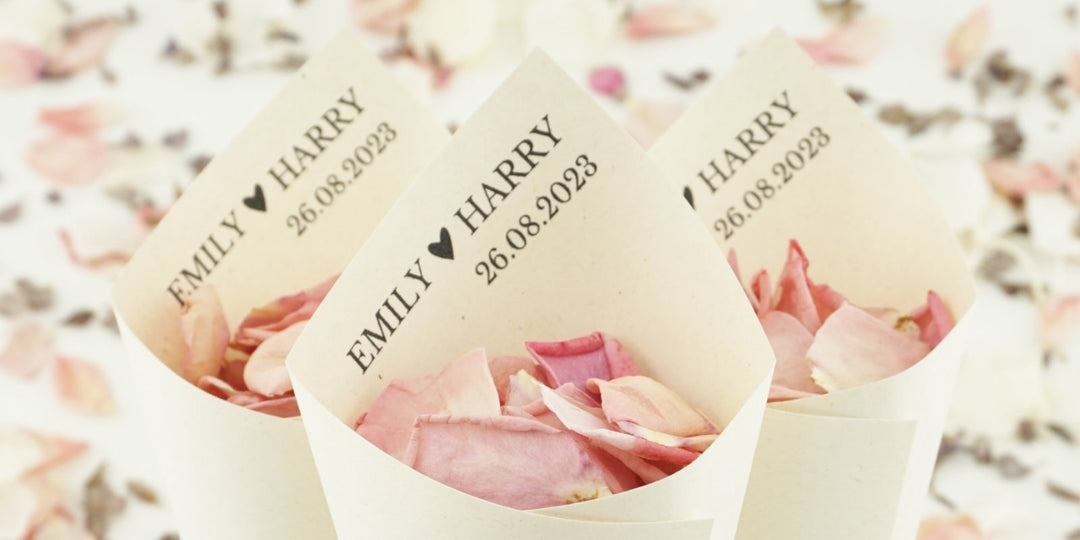
Add personal touches, such as a monogram, a favourite quote, or an illustration that is meaningful to you and your partner. This makes the invitations uniquely yours.
Add Texture and Layers:
Create visual interest by incorporating texture and layers. Consider using ribbons, lace, or fabric as embellishments. Be cautious not to add too much, though; simplicity often has its own elegance.
Watercolour or Illustrations:
If you have artistic skills, consider incorporating watercolour elements or hand-drawn illustrations. This adds a personalised and artistic flair to your invitations.
Use a Wax Seal:
For a classic and elegant touch, consider using wax seals on your envelopes. You can customise the seal with your initials, a wedding logo, or a design that complements your theme.
Include a Map or Illustration:
If your venue is in a unique location, include a map or illustration to help guests find their way. This can be especially helpful for destination weddings.
Create a Digital Version:
If you're tech-savvy, design a digital version of your invitation to send via email or through your wedding website. This can be a cost-effective and eco-friendly option.
Experiment with Printing Techniques:
If you have access to a quality printer, experiment with different printing techniques like letterpress, embossing, or foil stamping to add a luxurious touch.
Assembly Line Approach:
If you're making a large number of invitations, adopt an assembly line approach to streamline the process. Complete one step for all the invitations before moving on to the next.
Handwrite or Calligraphy:
Consider handwriting the invitations or using calligraphy for a personal touch. If you have beautiful handwriting or know someone who does, this adds an extra layer of charm.
Printable Templates:
Explore printable wedding invitation templates available online. Many websites offer customisable templates that you can download and print at home or use a professional printer.
Test Print Before Finalizing:
Before printing the final batch, do a test print to check for any formatting issues, colour variations, or typos. It's much easier to make adjustments early in the process.
Remember that DIY invitations should reflect your personality and the theme of your wedding. Take your time, enjoy the process, and involve your partner in the creative decisions. DIY invitations can be a labour of love that adds a unique and special touch to your wedding celebration.